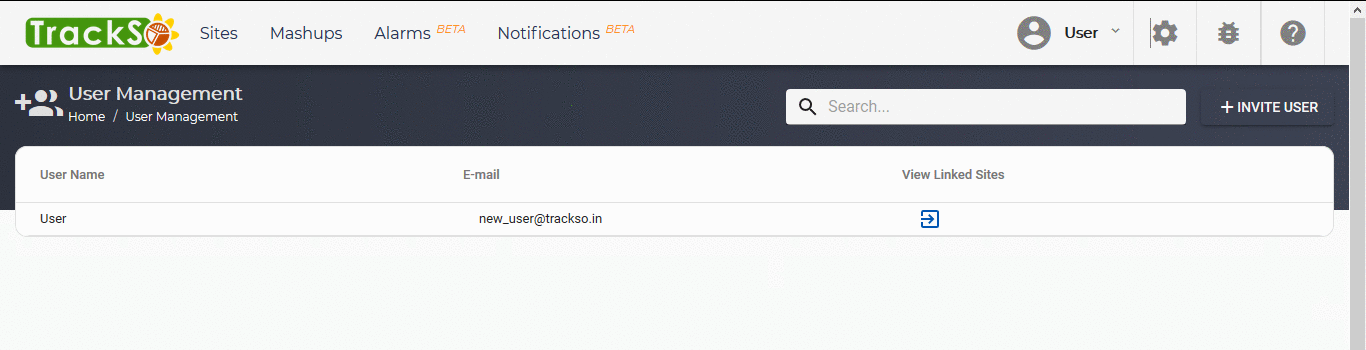
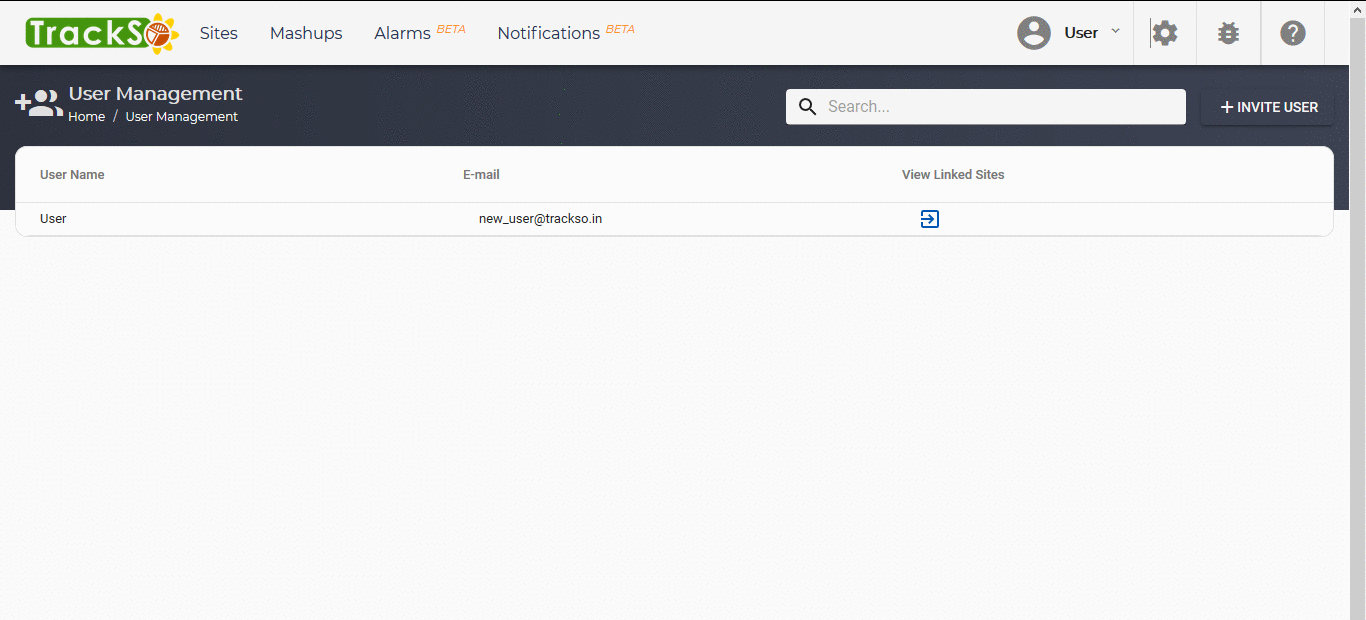
A site on TrackSo Solar can have 5 no.s of users assigned to it. Users can be added with either admin or read only access type.Once a user is added to a site,it will appear in the ‘User Management’ section with corresponding sites.
List of Actions possible via User Management
- Invite New Users
- Add Sites to Existing Users
- Modify Existing User Access Type
List of Access Type
- Admin – Monitor Site, Edit Site Users & Details
- Read Only- Monitor Site
Invite New Users
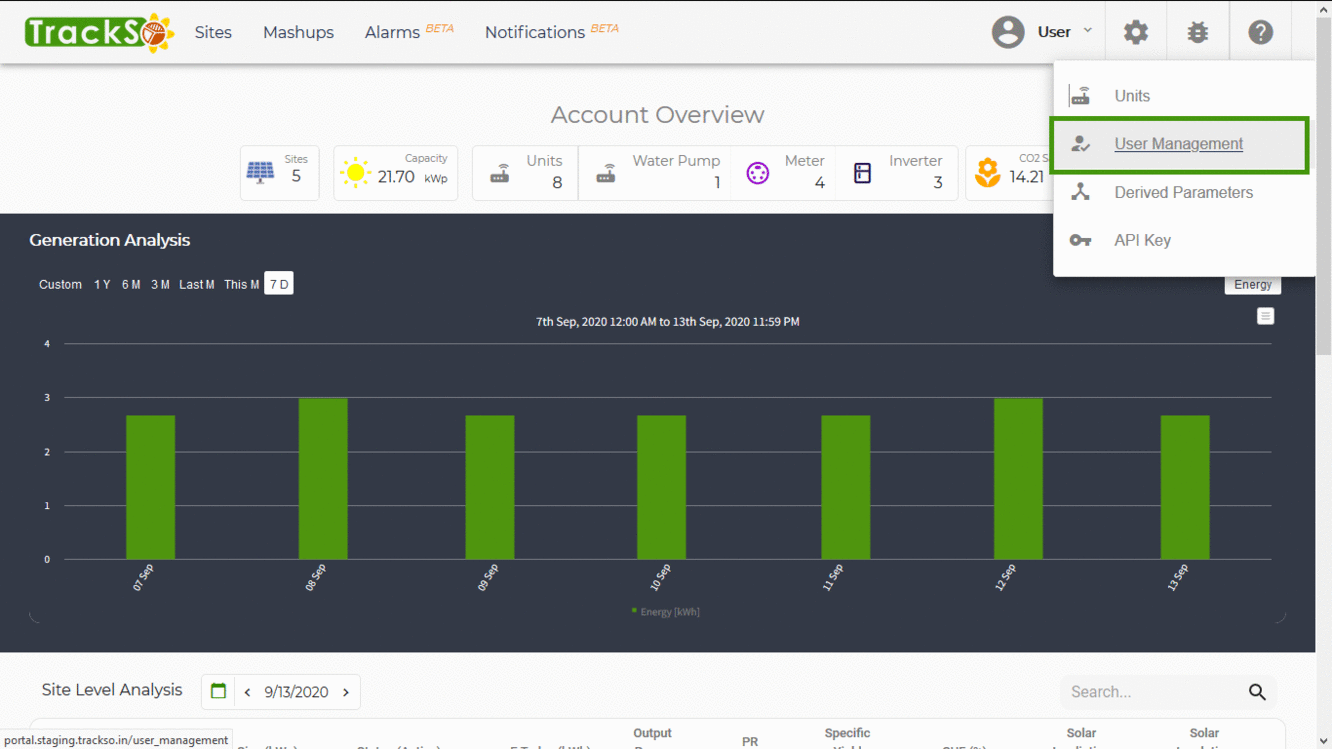
- Navigate to Configuration > Users Management in your TrackSo Account.
- Click on Invite User button available on the top right of the section.
- Pop-up with 3 stage navigation will appear
- Step-1 Enter email id of the user to which you wish to provide the site access
- Step-2 User Validation will system will check if the user already exists or needs to be invited to platform
- Step-3 Assign Site & Access Type allows providing access of multiple sites to a user at a time.
Note:
- Invitations are valid for 1 day. You can resend an invitation once the initial invitation expires.
- Invited user needs to only sign up with the email address on which invite has been sent.
here is a gif summarizing the above steps..
Add Sites to Existing Users
Users with Admin access to a site can add access for other users.
- Navigate to Configuration > Users Management in your TrackSo Account.
- Identify the user for which you wish to add a site and click on View Linked Sites action button
- Click on + Assign Site button on the top right of the page
- A pop-up will appear , select Site & Access Type and click on save to give access.
Note: Users will need to log out of the account and back in before updates to their access type will take effect.
here is a gif summarizing the above steps..
Modify Existing User Access Type
Users with Admin access to a site can change the access type of other site users.
- Navigate to Configuration > Users Management in your TrackSo Account.
- Identify the user for which you wish to edit access type, and click on View Linked Sites action button
- Click on Edit Icon on the Site for which you wish to edit access type.
- Select the required access type from drop down and save
Note: Users will need to log out of the account and back in before updates to their access type will take effect.
here is a gif summarizing the above steps..